| PV module processing: analysis of eight process steps |
| Release time:2023-03-01 08:41:48| Viewed: |
PV module processing technology is an important part of the solar PV industry chain. By packaging thin solar cells one by one, it can operate reliably in harsh outdoor environment.
At present, the packaging form of the mainstream PV module processing technology is EVA film packaging, which is composed of multiple processes such as cell detection, cell single welding, cell string welding, module lamination, module lamination, installation of frame and junction box, finished product testing, packaging and warehousing. Each process is interlinked, so the level of each process directly affects the quality and grade of products.
PV module processing technology
The first process
The first process is the detection of battery chips. As the main raw material of PV module processing, the performance of the cell directly determines the quality of the PV module. Therefore, in addition to its appearance, color difference and resistivity detection, the output current, output voltage, stability and durability of the battery under specific light and temperature conditions should also be tested. Its test is mainly completed by professional instruments and equipment.
The second process
The second process is the welding of single cell. During welding, pinch one end of the pressure welding strip with the left hand about 1/3 of the place, place the welding strip flat on the main grid line of the battery, and the other end of the welding strip contacts the grid line on the battery; Hold the soldering iron with your right hand, and gently press the soldering belt evenly from left to right. During welding, the starting point of the soldering iron head should be on the left of the single piece, and the plane of the soldering iron head should always be close to the welding band during welding. The welding shall be firm, free of burrs, faulty soldering and tin slag, and the surface shall be smooth and beautiful.
The third process
The third process is the string welding of the battery. The operation process is as follows: place the specified number of welded battery cells on the template with the back side up, press two battery cells with one hand gently to make them stick to the heating template and close to each other, and press and weld the solder strip from the next cell on the back electrode of the previous cell with a soldering iron according to the specified spacing (2 ± 0.5 mm). During welding, it is required that the solder bar shall be flat and straight in appearance, without protruding solder bumps or faulty soldering.
Application of linear motor in photovoltaic industry chain
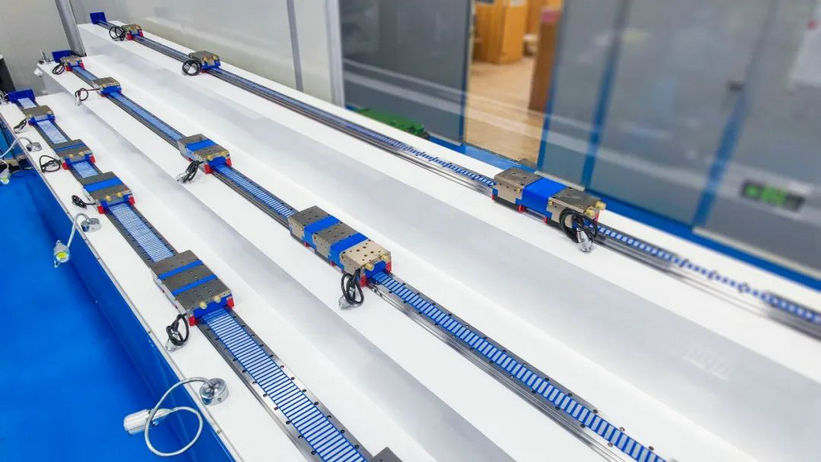
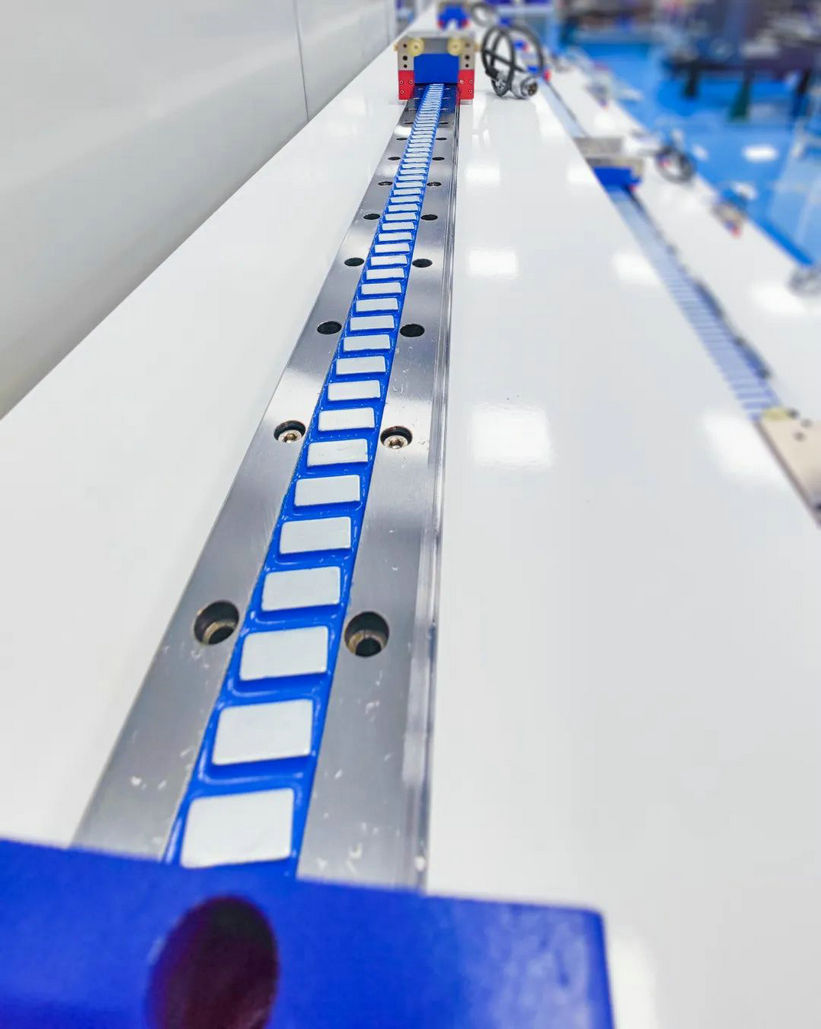
Linear motors are used in photovoltaic silicon materials, silicon wafers, cells, modules, systems and other links, and the improvement of linear motor integration technology will also help the photovoltaic industry to significantly increase production capacity and reduce costs. The small blue power guide rail innovatively developed by Kronos is the representative product of the new integrated linear motor. It uses the integrated structure, reduces the number of accessories, and can achieve higher accuracy and speed than the lead screw, and reduces the price by 20%. The performance is the same as the linear motor, and the price is half lower than the traditional linear motor.
The small blue power guide rail can be used in a variety of production scenarios, such as battery string welding equipment, lamination welding equipment, end welding equipment, solar cell handling equipment, solar cell marking equipment, solar cell automatic detection equipment, solar monocrystalline silicon etching equipment, etc., which can improve the performance advantages of automation equipment and help manufacturers to more efficiently use the plant area to increase production and reduce costs, It can fully meet the manufacturer's requirements for high cost performance of equipment.
The fourth process
The fourth process is cascade. Lift the tempered glass onto the laminating workbench, with the pile surface of the tempered glass facing upwards, and lay a layer of EVA on the tempered glass. The margin of EVA on the four sides of tempered glass is ≥ 5mm. Note that the smooth surface of the EVA should be oriented towards the tempered glass pile surface, and the positioning template conforming to the module plate type should be placed on the EVA. The battery string should correspond to the head and tail templates respectively. According to the positive and negative pole symbols marked on the template, the battery string should be correctly placed on the EVA, with the anti-reflection film surface of the battery string facing downward.
After the battery string is placed in place, measure the distance of the battery piece with a steel ruler according to the requirements of the drawing and the positioning template, and adjust the position of the battery string. According to the assembly splicing diagram and voltage requirements, correctly weld the bus bar and paste the bar code on the specified position. Lay the EVA with the pile facing the battery string, and then lay the TPT, and conduct the EL test to confirm that there are no defects such as cracks, faulty soldering, desoldering, and black chips.
The fifth process
The fifth process is lamination. Start the laminating machine according to the operating procedures of the laminating machine, adjust the laminating temperature and evacuation time according to the EVA characteristics, and record the temperature, pressure and other technical parameters on the operation record sheet; Place a layer of high-temperature non-stick cloth on the heating plate in the laminator, put the assembled tempered glass component down into the middle of the heating plate of the laminator, put a layer of high-temperature non-stick cloth on it, press the cover closing button, and the laminator enters the automatic control system. After lamination, the laminator will automatically open the cover and take out the processed components in time. The chips in the components are required to be free of foreign matters, fragments, cracks, etc.
The sixth process
The sixth process is framing. Apply silica gel evenly in the aluminum alloy frame groove, insert the components into the aluminum alloy groove, and start the framing machine to complete the framing. Apply silica gel evenly at the junction of TPT and aluminum alloy on the back of the module, and apply silica gel evenly around the back of the junction box and the root of the outgoing line of the corresponding specification, stick the junction box, and connect the lead to the junction box. Cure at room temperature and certain humidity. Requirements: the frame shall be installed flat without bending, the gap at the right angle connection of aluminum alloy shall not be greater than 0.2mm, and the error of two diagonal lines of aluminum alloy frame shall be less than 4mm.
The 7th process
The seventh process is cleaning. Tear off the plastic film on the surface of the aluminum profile, and wash all kinds of pollutants on the surface of the module with wine essence to ensure that the appearance of the module is clean and pollution-free.
The 8th process
The eighth process is finished component testing. Conduct the test according to the operating procedures of the solar module tester. First, calibrate the solar module tester with the standard module in the same environment, and make the calibration record. Put the photovoltaic module to be tested, connect the positive and negative electrodes, and test the module. Through comparison and analysis, calculate the electrical performance parameters of the module, and make the record. |


